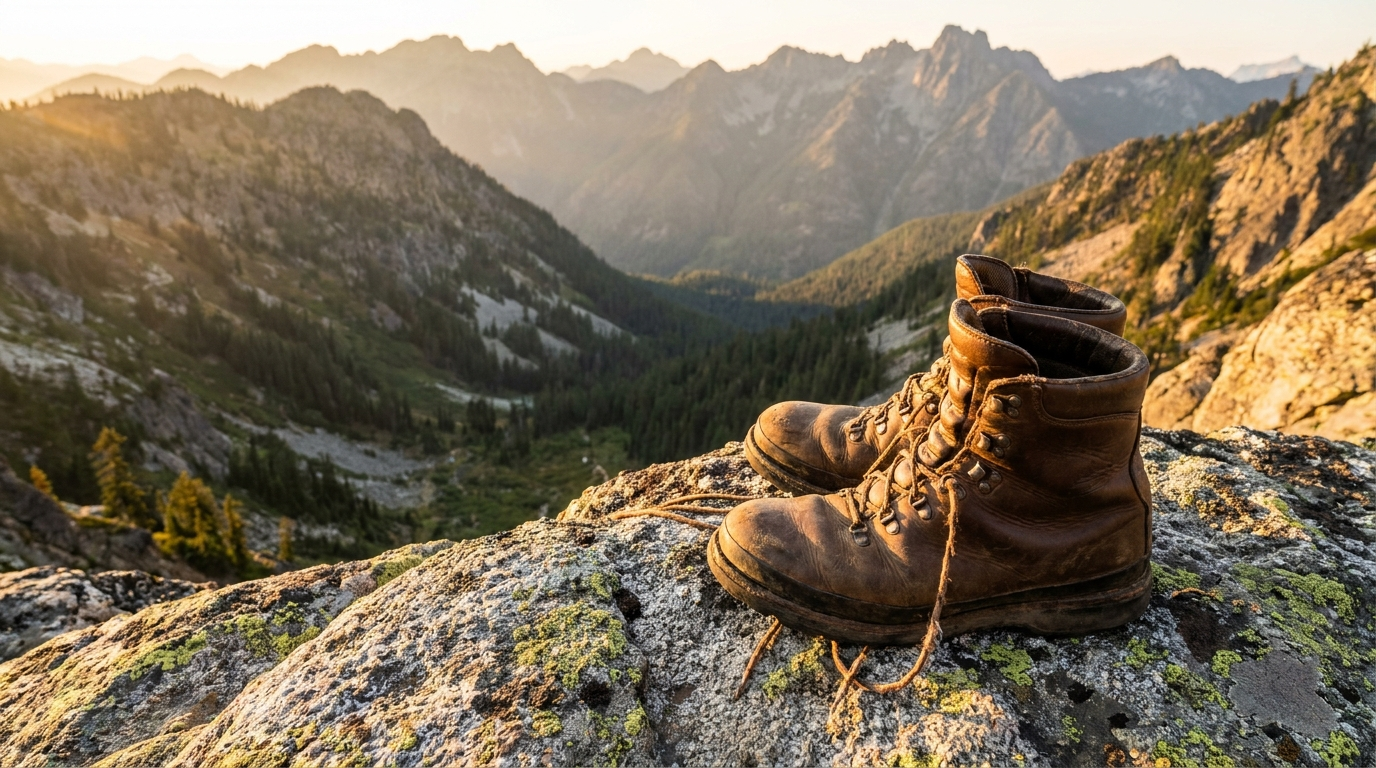
Twenty to thirty miles. That''s the realistic break-in distance a stiff mountain boot needs before its flex pattern, heel counter, and lacing tension stop fighting your foot back — not the two weeks of driveway walks that most gear roundups recommend. Archery elk season opens across most Western states in roughly a month. A boot that feels broken in on the sidewalk can still come apart eight miles into a steep basin, and the gap between those two outcomes is exactly what the generic advice skips.
Walking around the house tests the wrong failure mode
The standard line — wear new boots around the yard, run a few errands in them, take a short flat hike — does something real. It softens upper leather and lets a rigid heel counter start to match the shape of your heel. What it doesn''t do is load the boot the way a hunt actually will.
Boots fail on descents, not on flat ground. Coming downhill with 50-plus pounds of meat and gear drives your toes forward into the box, your heel slides against the counter with every step, and the ankle has to flex under real torque instead of just supporting body weight. None of that shows up on a driveway. It shows up at mile six of a pack-out, which is the worst possible place to discover it.
That''s the case for treating break-in as two separate jobs, not one:
- Conforming the boot — leather softening, insole compression, lacing tension settling in. Flat miles handle this fine.
- Conditioning the system — your feet, your socks, and the boot''s fit under load and on grade, which only shows up on weighted, angled miles.
Skip the second job and you can walk into September with boots that feel great on a driveway and turn your feet into hamburger on the mountain.
A four-week loaded break-in plan
With roughly a month to go, here''s a compressed schedule that gets a stiff leather mountain boot ready without wasting the time you don''t have. Adjust the exact days around your work schedule, but keep the mileage and load progression in this order — the sequence matters more than the calendar dates.
Week one: flat miles, no pack, sock system testing
Three to four short walks, one to two miles each, flat ground only. This is where you dial in socks, not mileage. Run a thin liner sock against the skin — smooth nylon or polyester — under a midweight merino wool sock. The two layers slide against each other instead of your skin taking the friction, which is where most blisters actually start. If a hot spot shows up in week one on flat ground with no pack, that''s a fit problem, not a break-in problem, and it''s worth catching now rather than at 9,000 feet.
Week two: add elevation and a light pack
Same distance, but find grade — stadium stairs, a parking garage, the steepest trail within twenty minutes of the house. Load a pack to 15-20 pounds. This is the point where a boot''s ankle support either does its job or doesn''t. Reapply leather conditioner at the end of this week; broken-in-but-still-drying leather takes conditioner faster than it will once fully worked in.
Week three: hunting weight, hunting terrain
This is the week that actually matters. Get the pack to 40-50 pounds — roughly what you''d carry with a spike camp load or a quarter of meat — and hike the steepest, longest terrain you can reach. Prioritize descents over ascents; that''s the failure mode you''re testing for. Four to six miles total across two or three outings. Check feet after every hike: any hot spot at this weight and grade needs to get solved with lacing changes or a different sock combination before it becomes a blister in elk country.
Week four: taper, waterproof, and rest
One more loaded hike mid-week at roughly 60-70 percent of hunting weight, mostly to confirm the fixes from week three held. Apply a waterproofing treatment now — Sno-Seal or a wax-based product on full-grain leather, a spray-on treatment on synthetic uppers — since the leather has had three weeks to partially work in and will take the treatment evenly. Then stop. The last week before travel is for resting feet and packing, not for one more "just to be sure" hike that leaves you sore on opening morning.
The boots that need this least still need the socks
Some lighter synthetic-and-leather hybrid mountain boots genuinely need less break-in than a full-grain leather boot — the upper isn''t fighting your foot the way stiff leather does. That doesn''t mean skip the process. Blisters come from movement inside the boot under load, and a boot with minimal structural break-in can still tear up a heel if the sock system and lacing haven''t been tested at hunting weight. If anything, a boot that "needs no break-in" is more dangerous to skip-test, because there''s no early warning from stiff leather telling you something''s wrong.
Rocky Boots and Crispi both run deep discounts right now in the current boot lineup, and both make models that cover a range of break-in needs — worth checking before assuming last year''s pair is the only option. If a loaded pack is part of your test plan and you don''t already have one dialed in for hunting weight, the pack selection currently on sale is a good place to start; a poorly fitted pack will throw off your gait in a way that looks like a boot problem and isn''t.
What to do if you''re starting late
If today is closer to two weeks out than four, compress weeks one and two into a single week — flat miles with sock testing, then immediately into a light pack on grade — and don''t skip the loaded week. A rushed break-in with the heavy pack week intact beats a full month of flat, unloaded walking that never tests the actual failure mode. What you can''t compress is the taper: even with two weeks, take the last three or four days off from hiking so your feet aren''t already fatigued walking into camp.
One more late-start move: if you''re buying new boots this close to the season, buy a model with a known, well-documented break-in curve rather than gambling on something new to you. This is not the year to experiment with an unfamiliar last shape or a boot line you''ve never worn.
A boot that''s never carried real weight downhill hasn''t been tested — it''s just been worn.
Don''t confuse comfort with readiness
A boot can feel completely comfortable standing in a store, walking a flat aisle, even hiking a groomed trail — and still be wrong for the terrain you''re actually hunting. The only way to know is to load it the way the hunt will load it, before the hunt is the one testing it. That''s true whether this is a budget boot or a top-tier one; price doesn''t buy out of the break-in process, it just sometimes buys a shorter one.
If your current boots already passed this test last season, the job this month is gear-adjacent, not boot-specific — dial in the rest of the kit around them. The pre-season gear audit covers the rest of that checklist, and if you''re still deciding between boot models entirely, the boot buying guide covers fit and stiffness tradeoffs this piece doesn''t.
Either way, the four weeks between now and opening day are the cheapest insurance a hunt gets. Spend them on loaded miles, not driveway laps, and check the current deals while gear''s still on sale before the season starts.